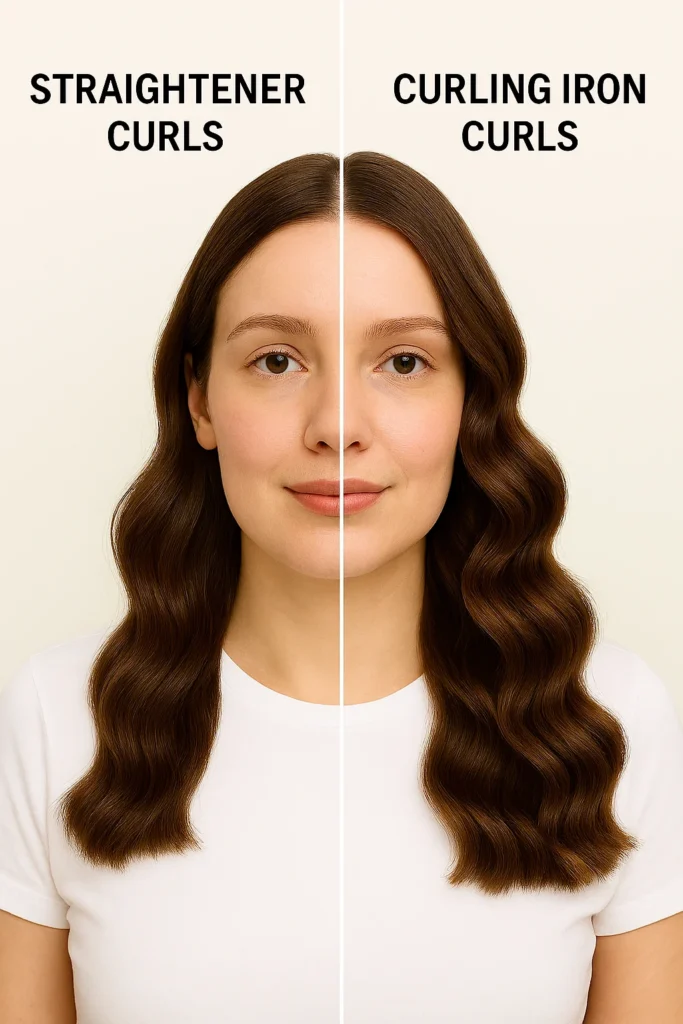
Have you ever looked at your hair straightener and wondered if it could do more than just create sleek, pin-straight locks? The answer is absolutely yes. With a few simple techniques, your flat iron can help you achieve glamorous curls and soft waves that look like you just walked out of a professional salon — and the best part? You can do it all at home without investing in additional tools.
This detailed guide covers 7 proven methods to curl your hair with a straightener. Whether your hair is fine and delicate, thick and unruly, or somewhere in between, you’ll find a technique here that suits your style and hair type.
Why Curling with a Straightener Works So Well
Straighteners aren’t just for straight hair. They work by using heated plates to temporarily break down the hydrogen bonds in your hair strands. Once the hair cools, it takes the shape you’ve styled it into — whether that’s straight, wavy, or curly. By twisting, bending, or sliding your flat iron in specific ways, you can create curls that range from tight ringlets to loose, beachy waves.
Another bonus is versatility: you can control the size, shape, and direction of every curl for a more natural, effortless finish compared to uniform curling wands.
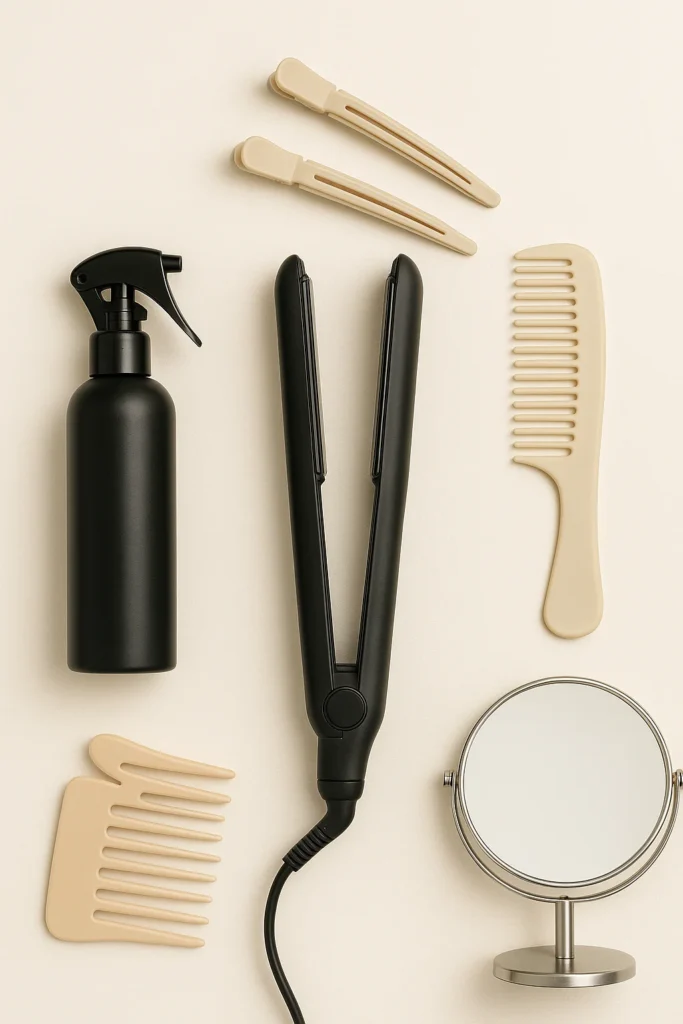
Essential Tools Before You Start
Before you dive into curling, gather these essentials for the best results:
- 1” or 1.25” flat iron with rounded edges – Rounded plates prevent harsh lines and make it easier to curl.
- Heat protectant spray – A must-have to shield your hair from damage.
- Hair clips – For clean sectioning and easier styling.
- Wide-tooth comb or detangling brush – To prep your hair and prevent snags.
- Good mirror and proper lighting – Styling becomes much easier when you can clearly see every section.
💡 Pro Tip: Apply heat protectant evenly on dry hair before using the straightener. Skipping this step can lead to dryness, split ends, and long-term damage.
7 Curling Techniques with a Straightener
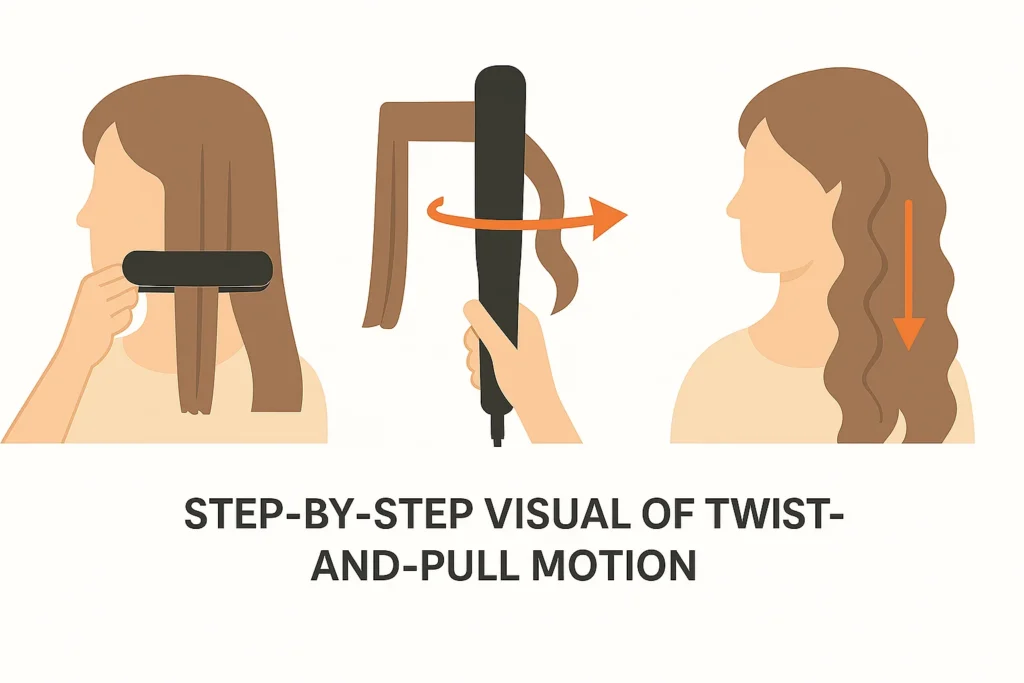
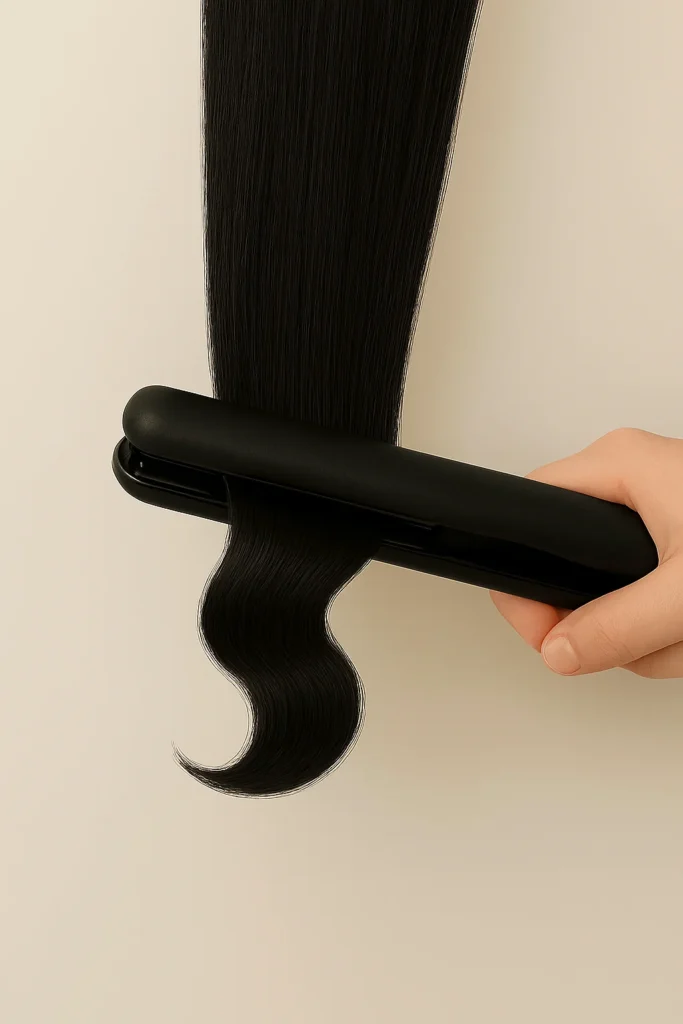
1. The Classic Twist-and-Pull
This is the most popular straightener curling method. Clamp a section of hair, rotate the iron 180° away from your face, and gently glide it down. You’ll get soft, polished curls perfect for daily wear or special events.
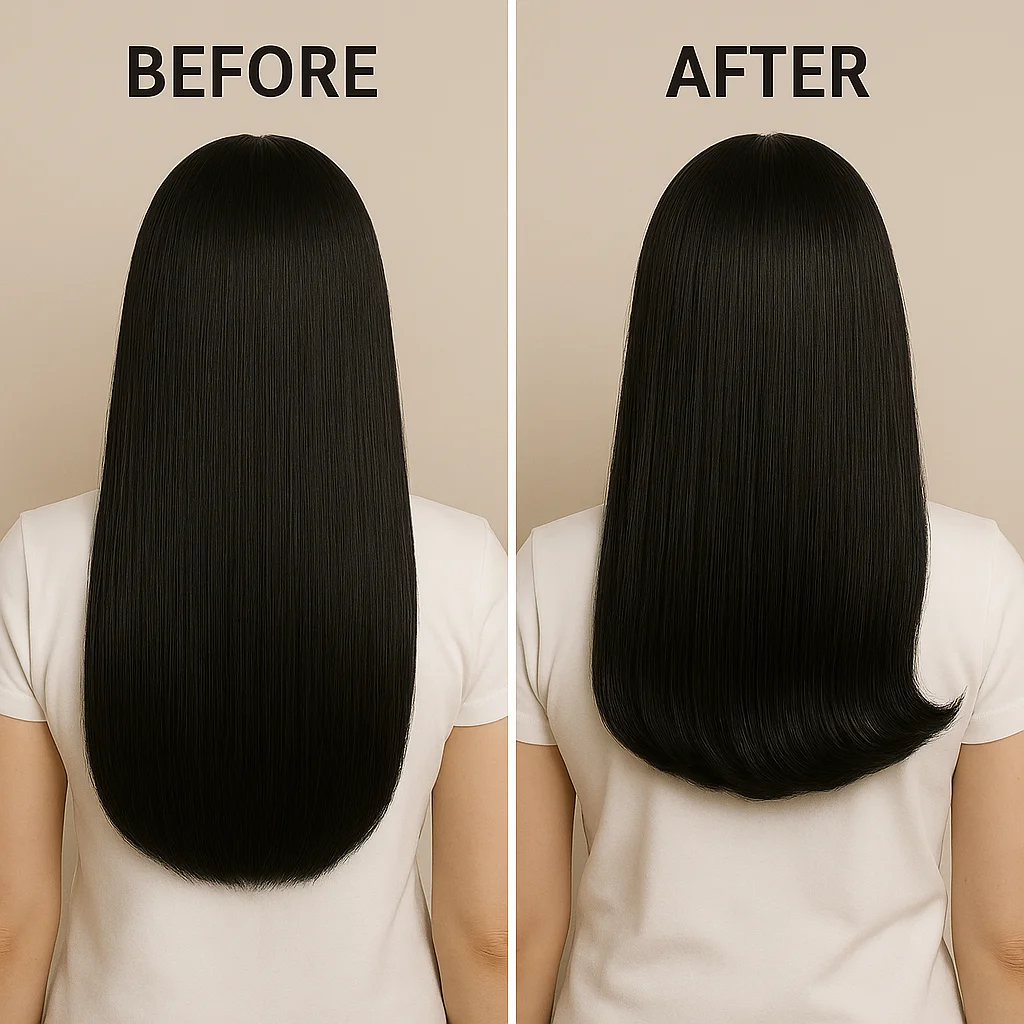
2. Flick Curl for Ends Only
If you’re short on time, focus only on curling the ends of your hair. This gives instant movement and bounce without a full curl. Ideal for bob cuts, layered styles, or days when you want a chic yet low-effort look.
3. S-Wave Slide
Shape the hair into an “S” pattern, then lightly press each bend with the flat iron. Alternate directions for each section to get natural, tousled waves — the kind you’d see after a day at the beach.
4. Clamp and Bend
Beginner-friendly and super quick: bend the hair into a “C” shape, clamp for a second, move down, and repeat. This method gives a relaxed, lived-in texture that’s perfect for humid weather or casual days.
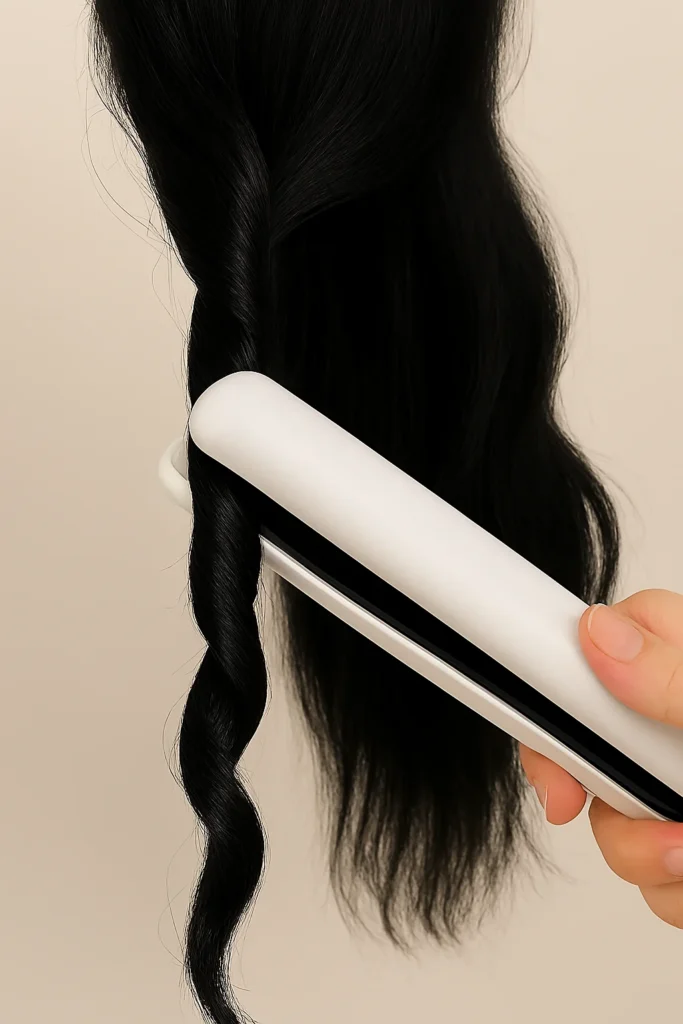
5. Rope Twist Waves
Twist a small section of hair tightly like a rope, run the straightener from roots to ends, and release. This technique creates slightly messy, beach-inspired waves — works especially well for thicker hair.
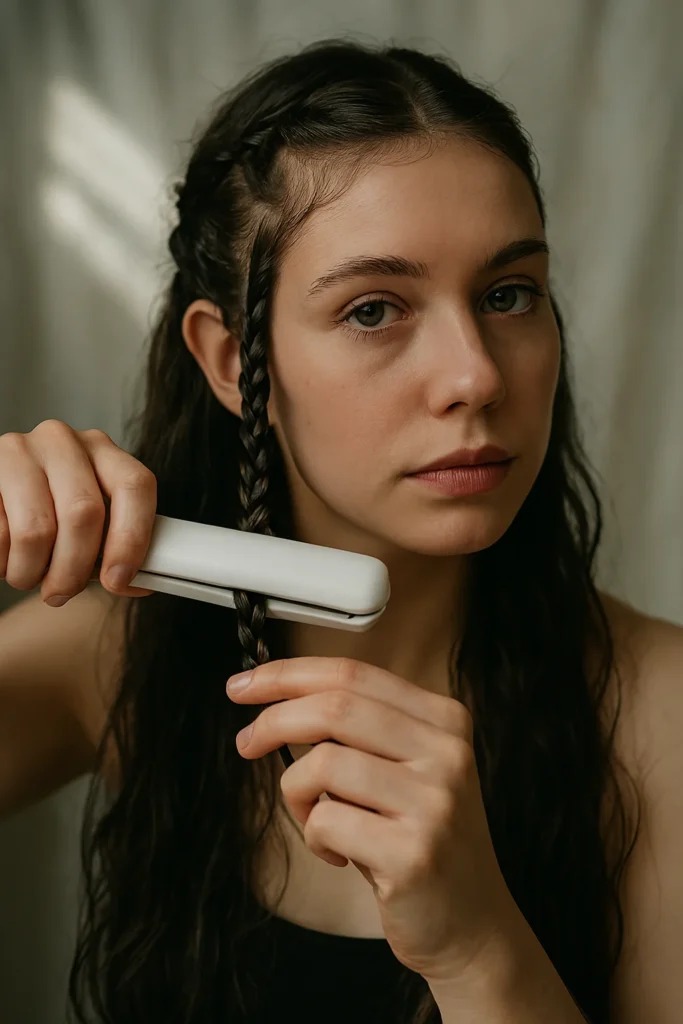
6. Zigzag Braid Curl
Braid your hair first, then run the flat iron along the braid. Let it cool, then undo the braid to reveal textured, bohemian waves. Great for festivals, vacations, and when you want a playful style.
7. Volume-Boosting Crown Curls
Instead of curling all your hair, focus on the crown area and front layers. This adds height, lifts the roots, and frames the face beautifully — perfect for refreshing second-day hair with dry shampoo.
Hair Type & Heat Guide
| Hair Type | Best Methods | Temperature | Pro Tip |
| Fine Hair | Classic Twist, Crown Curls | 300–325°F | Use a light texturizing spray for extra hold |
| Thick Hair | Rope Twist, Zigzag Braid | 375–410°F | Work in smaller sections for even heat |
| Curly/Frizzy | S-Wave, Rope Twist | 350–375°F | Pre-straighten slightly for smooth curls |
| Damaged/Color-Treated | Flick Curl | 280–310°F | Always apply a nourishing heat protectant |
Extra Tips to Make Your Curls Last Longer
- Let curls cool completely before touching or styling them further.
- Use a light-hold hairspray or texture mist to lock in shape without stiffness.
- Avoid heavy creams or oils right after curling — they can weigh hair down.
- Finger-comb curls instead of brushing for softer, more defined waves.
Common Mistakes & How to Avoid Them
- Curls not holding? Try lower heat and smaller sections for better curl memory.
- Ends poking out? Make sure the straightener twists all the way through the strand.
- Harsh lines or creases? Keep your grip light and your motion smooth.
Final Thoughts
With the right technique and a bit of practice, your straightener can be your ultimate styling tool. Whether you’re after effortless waves, defined curls, or just a boost of volume, these methods give you salon-quality results without the cost. Remember — perfect curls aren’t always the goal; sometimes, it’s those imperfect, relaxed waves that look the most beautiful.